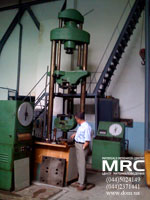
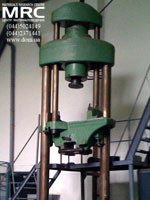
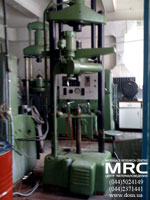
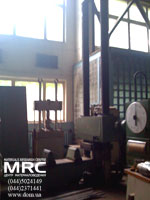
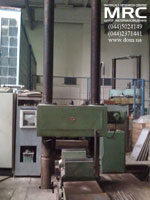
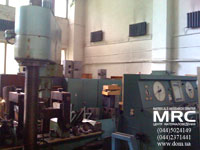
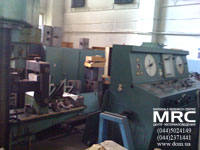
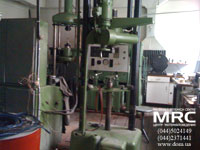
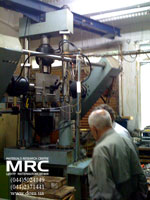
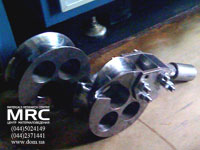
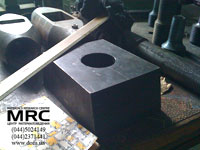
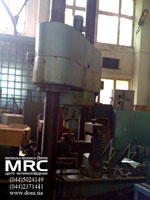
Materials Research Centre is capable to carry out a complex of the materials and constructions elements mechanical testing and physical chemical studies of the materials
Methods of the materials and constructions mechanical study and testing
In cooperation with G.S. Pisarenko Institute for Problems of Strength of National Academy of Science of Ukraine Materials Research Centre on the basis of a unique experimental technology for studying of the materials strength implements methodics of materials, constructions and their elements testing in different conditions of temperature-force loading as well as effecting of other factors. The obtained results of study give an opportunity to define materials mechanical characteristics, constructions, joints and their elements bearing capacity.
The studies give an opportunity to perform technical examination, diagnostics, constructions complex examination while their manufacturing, assembly, maintenance, reconstruction and operating; to perform calculations for the resistance, predict resource, define time of safe operating based on the technical state with depleted estimated resource, to study the strength and bearing capability of the rope, guyed systems, fastening elements, emergency steeplejack and climbing gear.
There performed estimation of the strength, ductility characteristics, and engineering ceramics crack resistance, studies of deformation and fracture processes (by using acoustic emissions method), ceramic and other fragile non-metal materials at blending under normal conditions. Studies of ceramic and other materials surface hardness, resistance to temperature drops, frost, cracks, chemical exposures, porosity, absorption etc.
While designing metal constructions and constructions with other materials used, characteristic of their strength and deformability as well as regularity of different constructions operating in various conditions are taken into account.
Special attention is paid to the materials limiting state development. On the basis of laboratory samples which give an opportunity to calculate strength and endurance of the real constructions considering their geometry, tension, sizes and other factors. Also one considers variety of technical materials, their significant differences under mechanical, thermal and thermo-mechanical loads as well as the real conditions peculiarities like properties dispersion, technological and operating defects availability, properties changing in the process of their long-term operating etc.
While producing welding metal constructions we carry out quality control by visual-optical, dye penetrant flaw detection, ultrasonic and radiographic methods in compliance with building code ІІІ-18-75, chapter “Metal constructions” and State Standard 3242-79.
Non-destructive methods of weld joints quality control
|
Type of control
|
Methods of control
|
Method characteristics
|
Field of application
|
Standard number for method of control
|
||||||
|
Detected defects
|
Sensitivity |
Peculiarities of the method
|
||||||||
|
Technical survey
|
Visual-optical
|
Surface defects
|
Discontinuities, welding joint size and shape deflections from the set values more than 0,1 mm, as well as surface oxidation of the weld joint
|
The method can detect defects of the minimal detectable size while examine and measuring of the weld joint by using scopes with zoom in up to 10 x and measuring instruments
|
unlimited
|
-
|
||||
|
Capillar
|
Colour
|
Defects (discontinuities) on the surface
|
Conditional sensitivity levels according to State standard 184412-80 |
Sensitivity and reliability of the method depends on the joint surface quality preparation for the control
|
unlimitedя
|
State Standard 184412-80
|
||||
|
Capillar
|
Colour
|
Defects (discontinuities) on the surface
|
Conditional sensitivity levels according to State standard 184412-80 |
Sensitivity and reliability of the method depends on the joint surface quality preparation for the control
|
unlimited
|
State Standard 184412-80
|
||||
|
Radiant
|
Radiographic Radioscopic Radiometric |
Inner and outer defects (discontinuities) and defects of the joint shape
|
from 0,5 to 5% from the metal controlled width
from 3 to 8% from the metal controlled width from 0,3 to 10% from the metal controlled width |
Defects delectability according to State Standard 7312-76. Sensitivity depends on controlled weld joint characteristics and means of control
|
By State Standard 20426-82
|
State Standard 7512-75
|
||||
| Acoustic |
Supersonic
|
Inner and outer defects (discontinuities)
|
|
Defects size, quantity and character is defined in conditional indexes by State Standard 14782-76
|
By State Standard 14782-76
|
By State Standard 14782-76
|
||||


